concrete driveway repair

5 Essential Steps for Effective Concrete Driveway Repair

Concrete driveways are a popular choice for many homeowners due to their durability and low maintenance requirements. However, over time, even the most well-maintained concrete driveway can experience cracks, holes, and other forms of damage. If left untreated, these issues can worsen and compromise the structural integrity of your driveway. In this blog post, we will explore five essential steps for effective concrete driveway repair.

Step 1: Assess the Damage

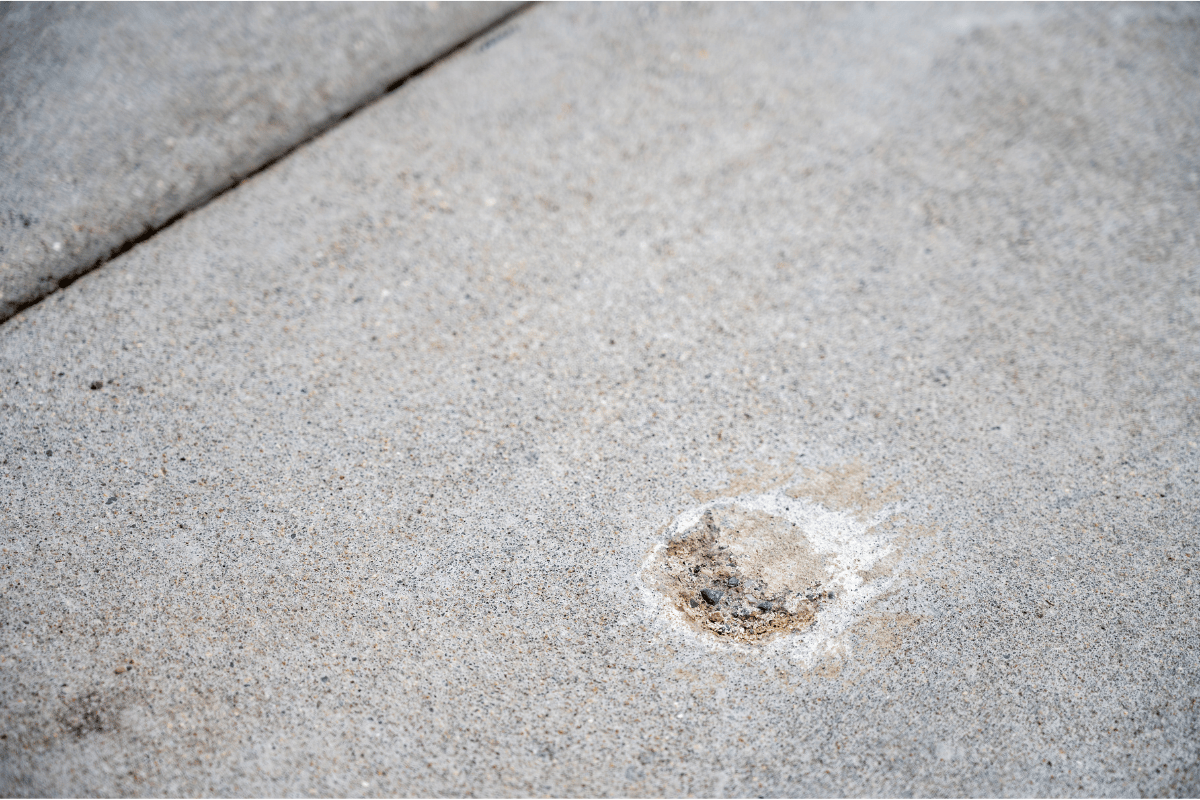
The first step in repairing your concrete driveway is to assess the extent of the damage. Look for cracks, holes, and other forms of damage that may need repair. Take note of the size and location of each area of damage as this will help you determine the appropriate repair method.

Step 2: Prepare the Surface

Before you can begin repairing your driveway, you need to ensure that the surface is clean and free of debris. Use a pressure washer to remove any dirt, grime, and loose concrete. If there are any stubborn stains, you can use a concrete cleaner to help remove them.

Step 3: Fill the Cracks and Holes

Once the surface is clean and dry, you can begin filling the cracks and holes. For small cracks and holes, you can use a concrete patching compound. For larger cracks, you may need to use a concrete resurfacer. Apply the product according to the manufacturer’s instructions and allow it to dry completely.

Step 4: Apply a Sealant

After the concrete patching compound or resurfacer has dried, you should apply a sealant to protect the surface from further damage. A concrete sealer will help prevent water from seeping into the concrete and causing further cracks and damage.

Step 5: Regular Maintenance for Concrete Driveway Repair

Regular maintenance is key to ensuring that your repaired concrete driveway stays in good condition. This includes regularly cleaning the surface, fixing any new cracks or holes as soon as they appear, and reapplying the sealant as needed.

FAQs:

Q: How long will the repair last?

A: The lifespan of a concrete driveway repair will depend on several factors, including the severity of the damage and the quality of the repair work. With proper maintenance, a repair can last for several years.

Q: Can I repair the driveway myself?

A: Yes, you can repair your concrete driveway yourself if you have the necessary tools and experience. However, for more extensive damage, it is recommended that you hire a professional contractor.

Q: How much does it cost to repair a concrete driveway?

A: The cost of repairing a concrete driveway will depend on the extent of the damage and the repair method used. Small repairs can cost as little as $50, while more extensive repairs can cost upwards of $1,000.

Conclusion

Repairing a concrete driveway is a straightforward process that can help restore its functionality and appearance. By following these five essential steps, you can repair your driveway and prevent further damage from occurring. Remember to regularly maintain your driveway to ensure it remains in good condition for years to come. If you have any doubts or concerns about repairing your driveway, don’t hesitate to consult with a professional contractor.

step repair

Revitalize Your Concrete Steps: A Guide to Repairing and Maintaining Your Steps

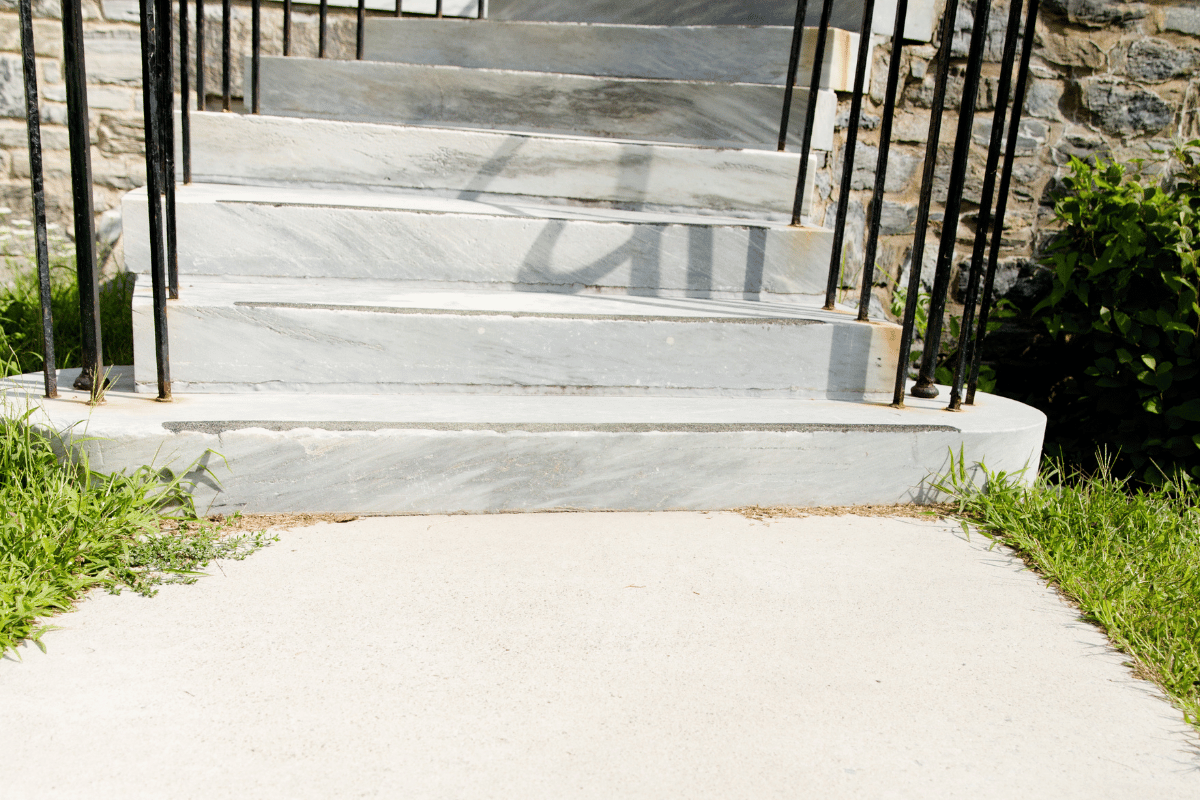
Concrete steps are a common feature in many homes and businesses. They are durable, long-lasting, and can withstand heavy foot traffic. However, like any other construction material, concrete is subject to wear and tear over time. If left unchecked, cracks and chips can turn into more serious damage, creating safety hazards and decreasing the curb appeal of your property. In this comprehensive guide, we will explore the various types of concrete step repair, the causes of concrete step damage, and tips for preventing future damage.

Types of Concrete Step Repair

There are several ways to repair concrete steps, and the most suitable method depends on the extent of the damage. Here are some of the most common types of concrete step repair:

  1. Resurfacing: This method involves applying a new layer of concrete over the damaged surface. Resurfacing is ideal for steps with minor surface damage, such as small cracks or chips. It is a cost-effective way to restore the appearance of the steps without having to replace them.
  2. Patching: If the damage is more severe, patching may be necessary. This involves filling in the damaged area with new concrete. Patching is a good option for steps with deep cracks or holes.
  3. Replacement: If the damage is extensive or the steps are old and deteriorated, replacement may be the only option. This involves removing the existing steps and pouring new concrete. Replacement is the most expensive option but is necessary for safety reasons.

Causes of Concrete Step Damage

Understanding the causes of concrete step damage is key to preventing future damage. Here are some of the most common causes of concrete step damage:

  1. Weathering: Exposure to the elements can cause concrete to crack and chip over time. Extreme temperatures, moisture, and freeze-thaw cycles can all contribute to weathering.
  2. Heavy foot traffic: Steps that receive heavy foot traffic are more prone to damage than those that don’t. Over time, the constant weight and impact of feet can cause the concrete to wear down.
  3. Chemical damage: Exposure to chemicals such as de-icing salts and cleaning products can cause concrete to deteriorate.
  4. Poor installation: Concrete steps that were not properly installed are more likely to crack and shift over time.

Preventing Future Damage

While it is not possible to completely prevent concrete step damage, there are several steps you can take to minimize the risk. Here are some tips for preventing future damage:

  1. Keep the steps clean: Regular cleaning can help prevent the buildup of dirt, debris, and chemicals that can damage the concrete.
  2. Use a sealant: Applying a sealant can help protect the concrete from moisture and other environmental factors.
  3. Fix damage promptly: Addressing minor damage as soon as possible can prevent it from turning into more serious damage.
  4. Hire a professional: Proper installation and repair require the expertise of a professional. Hiring a qualified contractor can help ensure that the job is done correctly and safely.
Conclusion

Concrete steps are an important feature of many homes and businesses. With proper maintenance and repair, they can provide years of reliable service. If you notice signs of damage, such as cracks or chips, it is important to address them promptly to prevent further damage and ensure the safety of those using the steps. Whether you choose to resurface, patch, or replace your concrete steps, hiring a professional can help ensure that the job is done right. By following the tips outlined in this guide, you can help prevent future damage and keep your concrete steps looking and functioning their best.

concrete step repair

Step Up Your Spring Cleaning Game: Don’t Forget About Uneven Concrete

Spring has officially sprung, which means it’s time to start thinking about spring cleaning. While the task may seem daunting at first, breaking it down into manageable steps can help make the process easier. At FoamWorks, we want to help you get your house in tip-top shape this spring, and that includes taking care of any necessary concrete repairs. We’ll outline some tips for getting your house spring cleaning checklist marked off, including the importance of concrete step repair.

Step 1: Declutter

Before you can start cleaning, you’ll need to declutter. This means getting rid of any unnecessary items that are taking up space in your home. Go through each room and make a pile of things you no longer need or want. This will make it easier to organize and clean your home later on.

Step 2: Deep Clean

Once you’ve decluttered, it’s time to start deep cleaning. This includes dusting, vacuuming, mopping, and wiping down surfaces. Take your time and be thorough, as a clean home is essential for maintaining good health.


Step 3: Exterior Repair

Now that your home is clean, it’s time to tackle any necessary exterior repairs. One area that often gets overlooked is concrete steps. Over time, concrete steps can crack, chip, or become uneven, which can be a safety hazard. It’s important to repair any damage to your concrete steps as soon as possible to prevent accidents and ensure the longevity of your steps.

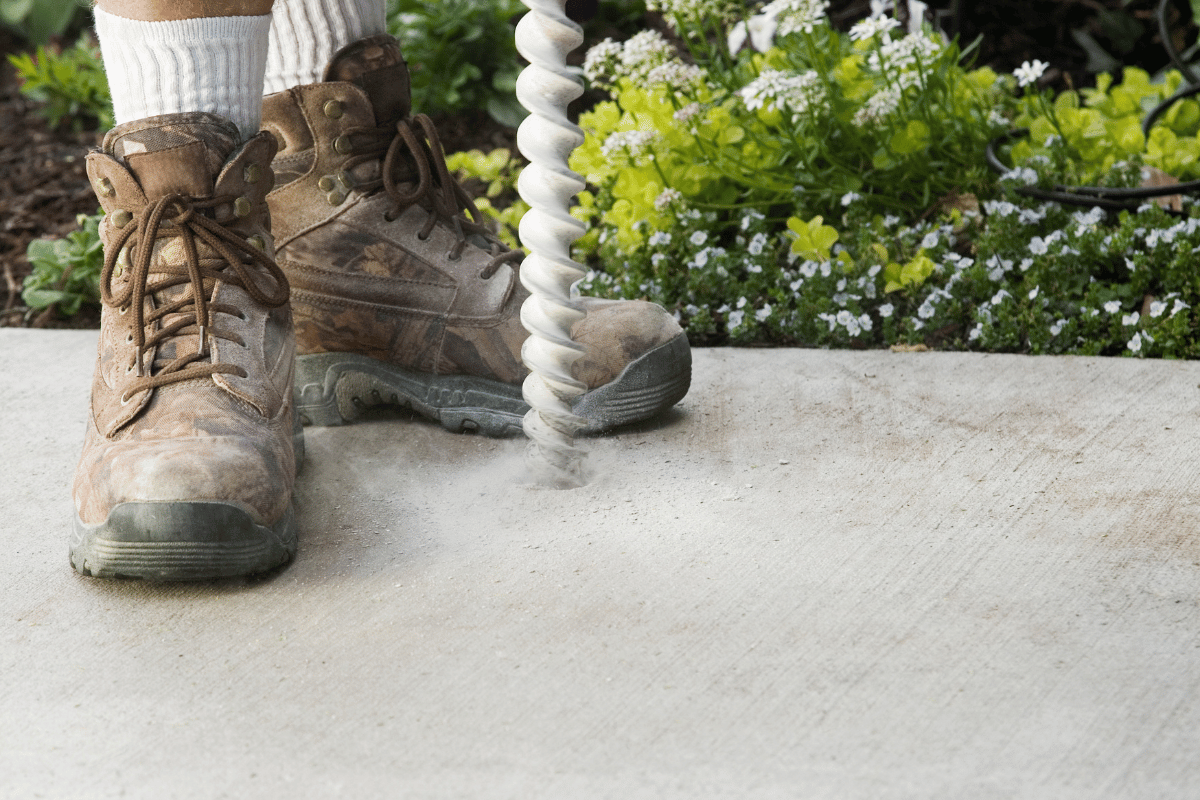
At FoamWorks, we specialize in concrete step repair using polyurethane foam injection. This process involves injecting a specialized foam into the voids and gaps underneath the concrete, which expands and lifts the concrete back into place. This method is much faster and more affordable than traditional concrete repair methods and can be done in as little as one day.


Step 4: Organize

Once your repairs are complete, it’s time to organize. This means finding a place for everything and keeping everything in its place. Invest in storage solutions such as shelving, baskets, and bins to help keep your home tidy.


Step 5: Freshen Up

Finally, it’s time to freshen up your home. This includes adding new touches such as throw pillows, curtains, and fresh flowers. A fresh coat of paint can also do wonders for giving your home a new look.

At FoamWorks, we’re here to help you tackle your spring cleaning checklist, including any necessary concrete projects. Contact us today to schedule a consultation and let us help you get your home in top shape for the season ahead.

Concrete Driveway Repair

Concrete Driveway Repair: Tips and Techniques

A cracked or damaged concrete driveway can not only be unsightly but also pose a tripping hazard and potentially damage vehicles. Fortunately, concrete driveway repair is often a feasible and cost-effective solution. We’ll discuss common types of concrete driveway damage, tips and techniques for repairing cracks and potholes, and preventative measures to extend the life of your driveway. Whether you are dealing with cracks, potholes, or settling, there are effective repair methods that can save you time and money in the long run.

Types of Concrete Driveway Damage

  1. Cracks

Cracks are a common type of concrete driveway damage and can occur due to freeze-thaw cycles, heavy loads, or shifting soil. Small cracks can usually be repaired with a concrete patching compound, while larger cracks may require sawing and filling with a concrete sealant.

  1. Potholes

Potholes are another common type of concrete driveway damage and can occur due to heavy loads or water seeping into the concrete. Potholes can be repaired by removing the damaged concrete and filling with a patching compound.

  1. Settling

Settling occurs when the soil beneath the driveway compresses or shifts, causing the driveway to sink or become uneven. Settling can be repaired by injecting a polyurethane foam into the soil beneath the driveway to raise and level it.

Tips and Techniques for Repairing Concrete Driveway Damage

  1. Clean the Area

Before starting any repair, it is essential to clean the damaged area thoroughly. Remove any loose debris, dirt, or vegetation with a wire brush or pressure washer.

  1. Use the Right Materials

Use the appropriate materials for the type of damage. For cracks, use a concrete patching compound, and for potholes, use a patching compound or concrete mix.

  1. Follow Instructions

Always follow the manufacturer’s instructions when using any repair products. Improper mixing or application can result in a subpar repair.

  1. Allow for Proper Curing

After applying the repair material, allow it to cure properly before driving or walking on the driveway. Follow the manufacturer’s recommended curing time.

Preventative Measures to Extend the Life of Your Driveway

  1. Seal Your Driveway

Sealing your driveway can prevent water and other substances from penetrating the concrete and causing damage.

  1. Control Water Runoff

Ensure that water runoff is directed away from the driveway to prevent pooling, which can lead to damage.

  1. Avoid Heavy Loads

Avoid parking heavy vehicles or equipment on the driveway, which can cause cracking and damage.

Conclusion

Repairing a concrete driveway can be a cost-effective solution to common types of damage such as cracks, potholes, and settling. Following proper techniques and using the right materials is essential to ensure a successful repair. Additionally, preventative measures such as sealing the driveway and controlling water runoff can extend the life of the driveway. If you are unsure of how to repair your concrete driveway, it is always best to consult with a professional concrete contractor for expert advice and services.

Polyurethane Concrete Lifting Cost

How Much Does Polyurethane Concrete Lifting Cost

Polyurethane concrete lifting is an effective method for repairing concrete surfaces that have settled, cracked or become uneven over time. It is a popular alternative to traditional concrete lifting methods, which can be more invasive, time-consuming, and expensive. If you are considering using polyurethane for your concrete repairs, one of the most important factors to consider is the cost.

What is Polyurethane Concrete Lifting?

Polyurethane concrete lifting is a technique that involves injecting a specialized foam material underneath the concrete surface. The foam material expands and hardens, lifting the concrete and filling any voids or gaps that may have caused the settlement or unevenness. This technique is a cost-effective and efficient solution for repairing damaged concrete surfaces such as sidewalks, driveways, and patios.

Factors Affecting the Cost

  1. Size and Complexity of the Project

The size and complexity of the project are the most significant factors that affect the cost. The larger the project, the more foam material will be required to lift and level the concrete surface. A more complex project that requires additional drilling or preparation work may also increase the cost.

  1. Location

The location of the project can also affect the cost of polyurethane lifting. Projects that are located in remote or hard-to-reach areas may incur additional transportation and labor costs.

  1. Accessibility

The accessibility of the project area can also affect the cost of polyurethane concrete lifting. Projects that are located in hard-to-reach or confined spaces may require specialized equipment or additional labor to complete the job, which can increase the overall cost.

  1. Depth of the Damage

The depth of the damage to the concrete surface can also impact the cost of polyurethane concrete lifting. Deeper damage may require more foam material to be injected, which can increase the cost of the project.

  1. Type of Foam Material Used

The type of foam material used in the project can also affect the cost. Higher-quality foam materials may cost more than lower-quality materials, but they may provide better results and last longer.

How Much Does Polyurethane Concrete Lifting Cost?

The cost of polyurethane concrete lifting typically ranges from $3 to $10 per square foot. This cost includes the foam material, labor, and equipment. However, the final cost of the project may vary depending on the factors discussed above. It is recommended to get a quote from a professional contractor to get an accurate estimate for your specific project.

Conclusion

Polyurethane concrete lifting is a cost-effective and efficient solution for repairing damaged concrete surfaces. The cost of polyurethane concrete lifting typically ranges from $3 to $10 per square foot, depending on various factors such as the size and complexity of the project, location, accessibility, depth of damage, and type of foam material used. If you are considering using polyurethane concrete lifting for your project, it is essential to get a quote from a professional contractor to ensure you get an accurate estimate for your specific project.

polyurethane concrete raising cost

Understanding the Cost of Polyurethane Concrete Lifting

Polyurethane foam lifting is a popular technique used in the construction and maintenance industry to repair concrete slabs, driveways, sidewalks, and other concrete surfaces. This technique is preferred over traditional methods because it is cost-effective, efficient, and long-lasting. Polyurethane foam lifting is a fast and easy way to lift, level, and stabilize concrete slabs that have settled or sunk due to soil erosion, heavy traffic, or moisture damage.

If you’re planning to use polyurethane foam lifting to repair your concrete surfaces, one of the most common questions you might have is, “How much does polyurethane concrete lifting cost?” Let’s take a look at the factors that affect polyurethane concrete raising cost and give you an idea of how much you can expect to pay for this service.

Factors that Affect Polyurethane Concrete Raising Cost

1. Size and depth of the concrete slab

The size and depth of the concrete slab are the primary factors that determine the cost of polyurethane foam lifting. Larger and deeper concrete slabs require more foam and time to lift and level. Therefore, you can expect to pay more for larger and deeper concrete slabs.

2. Location of the concrete slab

The location of the concrete slab also affects the cost of polyurethane foam lifting. If the concrete slab is in a hard-to-reach area or requires special equipment or permits to access, you can expect to pay more for the service.

3. Condition of the concrete slab

The condition of the concrete slab is also a significant factor that affects the cost of polyurethane foam lifting. If the concrete slab has significant damage, cracks, or erosion, the foam injection may require additional material to stabilize the slab properly. Additionally, if the concrete slab has significant structural damage, polyurethane foam lifting may not be the best solution, and the cost may be higher to replace the entire slab.

4. Type of polyurethane foam used

The type of polyurethane foam used for the lifting process also affects the cost of the service. High-quality and durable foam may cost more than lower-quality foam. However, using high-quality foam ensures a long-lasting and durable repair.


Polyurethane Concrete Raising Cost

The cost of polyurethane concrete lifting varies depending on the factors mentioned above. Generally, the cost can range from $5 to $25 per square foot, depending on the size, depth, and condition of the concrete slab. Additionally, the location and accessibility of the site may add to the cost.

However, it’s important to note that polyurethane foam lifting is a cost-effective solution compared to traditional methods, such as replacing the entire concrete slab. Polyurethane foam lifting is also faster, less disruptive, and more environmentally friendly than other methods, making it a popular choice for homeowners and business owners alike.


Conclusion

Polyurethane foam lifting is a cost-effective and efficient solution to repair and level concrete slabs that have sunk or settled. The cost of the service depends on various factors, including the size, depth, location, condition, and type of foam used. The cost can range from $5 to $25 per square foot, making it a cost-effective solution compared to traditional methods. If you’re interested in polyurethane foam lifting for your concrete repair needs, contact a reputable contractor to get an accurate estimate for your project.

driveway raising

Driveway Raising: A Cost-Effective Solution for Sunken Driveways

Are you tired of the unsightly, hazardous, and inconvenient sunken spots in your driveway? Do you want to avoid the high cost of replacing your entire driveway? FoamWorks has the perfect solution for you – driveway raising.

The Problem with Sunken Driveways

Sunken driveways are a common problem that affects many homeowners. The main causes of sunken driveways are poor compaction of the soil beneath the driveway, erosion, and settlement of the soil over time. Sunken driveways not only look bad, but they can also cause damage to your car and even be a tripping hazard. Additionally, water can pool in the sunken areas, leading to drainage problems and further damage to the driveway.

The Benefits of Driveway Raising

Driveway raising is a cost-effective and efficient solution to sunken driveways. It involves injecting high-density polyurethane foam into the voids beneath the driveway, which lifts the driveway and stabilizes the soil. This method is much less expensive than replacing your entire driveway and is completed in a fraction of the time. Additionally, driveway raising is a long-lasting solution that can extend the life of your driveway for many years.

How FoamWorks Can Help

At FoamWorks, we specialize in concrete lifting and raising, including driveway raising. Our team of experienced technicians uses state-of-the-art equipment to inject the high-density polyurethane foam beneath your driveway, lifting it back to its original level. We only use the highest quality materials and our driveway raising process is minimally invasive, meaning we won’t disrupt your daily routine.

Why Choose FoamWorks?

FoamWorks is a trusted name in the concrete raising industry. We have over 20 years of experience and a team of highly skilled technicians who are committed to providing you with the best possible service. Our driveway raising process is fast, efficient, and cost-effective, and our materials are eco-friendly and non-toxic. Additionally, our work is backed by a lifetime warranty, so you can have peace of mind knowing that your driveway is in good hands.

Conclusion

Don’t let a sunken driveway ruin the appearance and safety of your property. Choose FoamWorks for driveway raising and enjoy the benefits of a stable, level, and attractive driveway. Contact us today to schedule a consultation and get a free estimate for our services.

it's your time

5 Signs It’s Time to Level Your Driveway

If you’re a homeowner in Texas, you know that the extreme temperatures and weather conditions can take a toll on your concrete surfaces, including driveways. Over time, your driveway may become uneven or sunken in certain areas, which can not only be an eyesore but also a safety hazard.

If you’re not sure if it’s time to level your driveway, here are 5 signs to look for:

1. Cracks and Chips

One of the most obvious signs that it’s time to start fixing driveway in the presence of cracks and chips. These can be caused by a variety of factors, including weather, wear and tear, and the weight of vehicles.

While small cracks and chips can be repaired with a concrete repair compound, larger or more numerous cracks may indicate that the underlying structure of the driveway is compromised and in need of leveling.

2. Uneven or Sunken Areas

If certain areas of your driveway are uneven or sunken, it’s likely time to level the surface. These areas can be a tripping hazard and can also cause damage to your vehicle’s tires and suspension.

3. Water Pooling

If water is pooling on your driveway instead of draining properly, it’s a sign that the surface is not level. Water should drain away from your home and not accumulate on the driveway, as this can lead to further damage and even foundation issues.

4. Wear and Tear

Over time, the weight of vehicles and the constant exposure to the elements can cause your driveway to become uneven. If you notice that your driveway is showing signs of wear and tear, it may be time to have it leveled.

5. Age

Concrete driveways have a lifespan of around 25-30 years, depending on the quality of the materials and the level of maintenance. If your driveway is approaching this age or older and is showing signs of wear and tear, it’s probably time to have it leveled.

Conclusion

If you’re noticing any of these signs, it may be time to level your driveway. Ignoring these issues can lead to further damage and safety hazards. By addressing them early, you can save money and prolong the lifespan of your driveway. If you’re not sure if it’s time to level your driveway or if you’re unsure of the extent of the damage, it’s always a good idea to consult with a professional concrete repair company.

repair seawall

How to Repair a Concrete Seawall

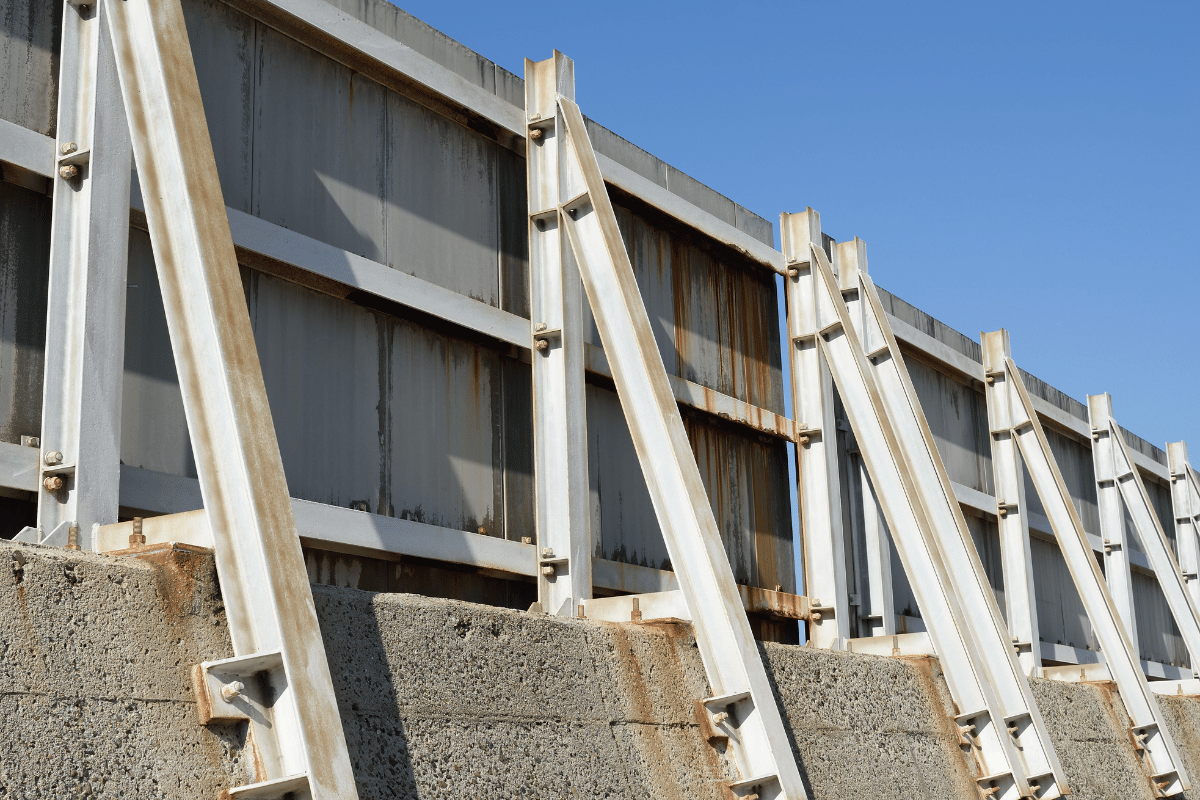
If you own a property along the coast in Texas, chances are you have a seawall to protect your land from erosion. These structures can be made of various materials, but concrete is a popular choice due to its durability and strength. However, even concrete seawalls can become damaged over time due to the harsh saltwater environment and the constant pressure from the waves. When this happens, it’s important to address the issue and repair the seawall to prevent further damage.

Here is a step-by-step guide on how to repair concrete seawall in Texas:

1. Assess the Damage

The first step in repairing a concrete seawall is to assess the extent of the damage. This will help you determine the necessary materials and tools needed for the repair, as well as the overall cost of the project.

Look for cracks, chips, and other signs of damage. You should also check the base of the seawall for any erosion or instability. If the damage is extensive, it may be necessary to hire a professional to help with the repair.

2. Clean the Area

Before starting the repair, it’s important to clean the area around the damage. Remove any loose debris and use a pressure washer to remove any dirt or salt build-up. This will help ensure that the repair material adheres properly to the concrete.

3. Repair Cracks and Chips

For small cracks and chips, you can use a concrete repair compound to fill in the damaged areas. Make sure to follow the manufacturer’s instructions for mixing and applying the compound. Use a trowel or putty knife to smooth the surface and remove any excess material.

For larger cracks, you may need to use a concrete patching material. These come in either a wet or dry form and are applied in a similar manner to the repair compound.

4. Replace Damaged Sections

If a section of the seawall is severely damaged or has collapsed, it may need to be replaced. This is a more complex and time-consuming repair that should be done by a professional.

5. Protect the Seawall

Once the repair is complete, it’s important to protect the seawall from further damage. This can be done by applying a concrete sealer to the repaired areas. This will help prevent saltwater erosion and protect the concrete from the harsh coastal environment.

Conclusion

Repairing a concrete seawall in Texas requires careful assessment of the damage, cleaning the area, filling in cracks and chips, and possibly replacing damaged sections. It’s important to address any issues with your seawall as soon as possible to prevent further damage and ensure the protection of your property. Hiring a professional, such as FoamWorks for this type of project may be necessary for such extensive repairs.

Parking Lot Repair

Saving your Parking Lot: Tips for Concrete Repair

If you own a parking lot, you know that concrete repair is an essential part of keeping your property in good condition. Cracks, potholes, and other damage can not only make your lot look unsightly, but also present safety hazards for drivers and pedestrians. Fortunately, there are some straightforward steps you can take to keep your parking lot in tip-top shape. Here are some tips for concrete parking lot repair that will help you save time and money.

Inspect your parking lot regularly for cracks and other damage

Ensuring that your parking lot is regularly monitored and maintained is an effective way to maximize the life of your pavement. Inspecting the surface regularly for signs of cracks, potholes, or other damage helps you identify any necessary repairs right away. Conducting regular inspections will also help reduce repair costs typically associated with large-scale damage caused by neglecting minor issues. Additionally, this form of preventative maintenance provides a safe driving experience for customers and employees. It is important to check for potential hazards such as standing water and hazardous surfaces on a regular basis to protect everyone from harm or injury.

Clean out any debris or dirt that has accumulated in the cracks

Keeping your stairs free from debris and dirt is an essential part of regular maintenance. Aside from providing a non-slip surface for visitors, this simple cleaning job can stop small issues from turning into nasty repair projects later on. You can easily keep your stairs clear by vacuuming between the cracks, inspecting for any loose material, and displacing any residue blocks which have formed in crevices with a broom or brush. Be sure to wear protective gloves when cleaning out tough grime from those hard-to-reach corners! Regular deep cleanings may be necessary to prevent further accumulation of dirt and debris so everyone using your stairs remains safe.

For bigger concrete cracks, call in a professional to fix them

When faced with concrete cracks, there is usually no need to worry as small cracks can usually be easily repaired. However, for larger concrete cracks to ensure your concrete structure maintains its integrity and continues to serve you properly for years to come, it is always wise to call in a professional concrete repair specialist. A trained and experienced concrete repair expert will be able to assess the crack and determine which concrete repair method is best suited for your particular situation – from a simple sealant patching job or concrete hole filling, up through full concrete restoration. Depending on the severity of the crack and other external conditions, they may suggest strengthening treatments or even removing large concrete structures with heavy tools and large vehicle-mounted cranes. Don’t wait until it’s too late – if you’re faced with big concrete cracks, contact a professional concrete repair specialist today.

Prevent future damage by sealcoating your parking lot every few years

Keeping your parking lot in top condition is essential to prevent costly damage down the line. Sealcoating it every few years is a great way to get ahead of any potential issues. Not only will sealcoating extend the life of your asphalt, but it also provides a protective barrier from things like UV rays and water, which could lead to cracking or potholing. Plus, this preventive measure is relatively affordable and can save you a lot of money over time. No matter the size or shape of your parking lot, protecting the beautiful and hardworking surface with regular sealcoating helps ensure optimum condition and a better experience for those that use it.

Although it may seem like a hassle, taking care of your parking lot’s cracks and other damage is important to keeping your property looking its best. Not only that, but if you don’t take care of the problem, it will only get worse over time. That’s why we recommend inspecting your parking lot regularly for any signs of damage and cleaning out any debris or dirt that has accumulated in the cracks. If you have bigger cracks, it’s best to call in a professional to fix them. And finally, prevent future damage by sealcoating your parking lot every few years. FoamWorks is here to help with all of your concrete parking lot repair needs. Contact us today!